Maintaining clean windows is crucial for allowing natural light into your home, which benefits both your mood and indoor houseplants. However, improper cleaning can lead to unsightly streaks. Follow our comprehensive guide to achieve sparkling, streak-free windows inside and out.
Step-by-Step Window Cleaning Guide
Preparation: Dust and Remove Screens
- Dust Frames and Sills:
Start by using a vacuum, duster, or cloth to remove dust from the window frame, tracks, and sill. This step ensures that no loose dirt or debris will mix with your cleaning solution, which can create a messy residue that’s harder to clean. Do the same for blinds or shades, as dust accumulates on these surfaces and can transfer back onto the glass.
- Clean Curtains:
If you have curtains, remove and wash them according to their care instructions. Dust and grime from curtains can easily transfer to windows, so cleaning them simultaneously ensures that your entire window area stays clean. Clean curtains also enhance the overall freshness and appearance of the room.
- Remove and Clean Screens:
Take off window screens and vacuum or brush them to remove dust. For a deeper clean, wash with a warm, sudsy mixture, rinse, and allow them to dry completely. Screens can collect a significant amount of dust and grime over time, which can blow back onto your clean windows if not addressed.
Photo by Li Sun: https://www.pexels.com/photo/brown-wooden-table-3190541/ via Pexels
Cleaning the Glass
- Apply Glass Cleaner:
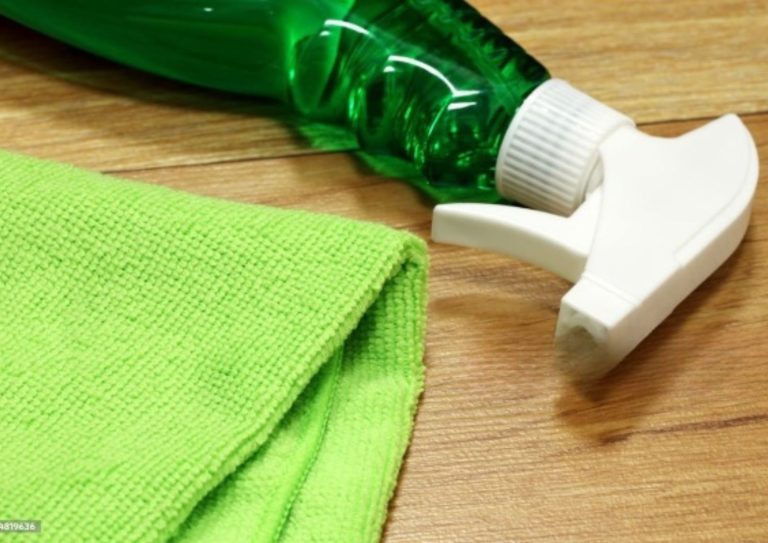
Spray the windows generously with a glass cleaner. Ensure you use enough cleaner to dissolve and suspend dirt for easy removal. Skimping on cleaner can lead to inadequate dirt removal, resulting in streaks. A well-sprayed window ensures that all grime is lifted and can be wiped away effectively.
- Wipe with Microfiber Cloth:
Using a lint-free paper towel or microfiber cloth, wipe the windows from top to bottom. Microfiber cloths are highly absorbent and can trap dirt effectively, ensuring a streak-free finish. If streaks appear, re-wipe until the glass is clear. Wiping in a consistent, downward motion helps prevent the re-distribution of dirt.
- Clean Outside Windows:
Wipe the exterior of your windows and frames with a soft brush or disposable cloth to remove loose dirt and dust. Repeat the spraying and wiping process on the outside glass. Exterior windows often collect more grime due to exposure to the elements, requiring extra effort and possibly multiple passes to achieve clarity.
Photo by Polina Tankilevitch: https://www.pexels.com/photo/a-woman-cleaning-the-window-4440537/ via Pexels
Reassemble and Admire
- Reinstall Screens:
Once the screens are dry, put them back in place. Properly cleaned and dried screens prevent dust from transferring back to your windows, ensuring they remain clear for longer.
- Rehang Curtains:
Hang your curtains back up. Clean curtains contribute to a polished, well-maintained look for your windows and room overall.
- Final Check:
Step back and admire the shine of your spotless windows. Assessing your work from different angles can help you spot any missed streaks or smudges, ensuring a flawless finish.
Recommended Window Cleaners
Best Commercial Cleaners
Using the right glass cleaner is key to achieving spotless windows. Here are some top recommendations:
- Invisible Glass Cleaner:
An aerosol mist that reduces drips and mess, making it easier to control and ensuring thorough coverage of the glass.
- Spic & Span Cinch Glass Cleaner:
Known for its strong cleaning power, this cleaner quickly dissolves dirt and grime.
- Hope’s Perfect Glass Cleaner:
Offers a streak-free shine, leaving your windows crystal clear.
- Windex Ammonia-Free Glass Wipes:
Convenient wipes that are perfect for quick touch-ups and smaller areas.
- Windex Outdoor Cleaning Tool:
Designed specifically for outdoor windows, this tool helps tackle tough grime with ease.
DIY Homemade Glass Cleaner
For those who prefer a natural cleaning solution, try this homemade recipe: Mix the following ingredients in a spray bottle for an effective homemade solution:
- 2 cups water
- 1/2 cup white or cider vinegar
- 1/4 cup rubbing alcohol (70% concentration)
- 2 drops grease-cutting dish liquid
- Optional: 1-2 drops of orange essential oil for scent
This DIY cleaner is both economical and effective, leveraging the cleaning power of vinegar and alcohol. For those living in areas with hard water, use distilled water to prevent mineral deposits from forming streaks.
Common Window Cleaning Mistakes and How to Avoid Them
Mistake #1: Cleaning on a Sunny Day
Cleaning windows on a sunny day can cause the cleaner to dry too quickly, leaving streaks. Opt for an overcast day or start on the shady side of your home. When the cleaner dries before you can wipe it away, it leaves behind residue that is harder to remove.
Mistake #2: Not Removing Dirt First
Always remove dirt and dust from the window frame before spraying cleaner. This prevents the cleaner from turning dirt into a messy, goopy substance. Using a vacuum or duster to clean the frames ensures that your glass cleaner can work on the glass surface without interference from debris.
Mistake #3: Using Old Cotton Rags
Old cotton rags can leave lint and streaks. Instead, use microfiber cloths or high-quality paper towels like Bounty Regular, which hold up well when wet. Microfiber cloths are designed to trap and hold dust and dirt, providing a more effective and streak-free clean.
Mistake #4: Incorrect Squeegee Use
While professional window cleaners often use squeegees, they can be tricky and messy for novices. For small panes, use microfiber cloths instead. Squeegees require a certain technique to avoid drips and streaks, which can be challenging for non-professionals to master.
Mistake #5: Cleaning All Windows in One Day
Divide the task by cleaning room by room. Cleaning all windows in one day can be overwhelming and lead to fatigue, which increases the likelihood of streaks and missed spots. Clean one side of the window horizontally and the other vertically to easily identify streaks and determine their location. This methodical approach ensures thorough cleaning and helps you keep track of your progress.
Conclusion
Regular window cleaning, using the right tools and techniques, ensures clear, streak-free windows that let in plenty of natural light. Follow our expert tips for the best results, and enjoy the enhanced ambiance of a well-lit, clean home. A consistent window cleaning routine not only improves the aesthetic of your living space but also contributes to a healthier and more pleasant environment.
FAQs
1. What are the best conditions for cleaning windows to avoid streaks?
Cleaning windows on an overcast day or in the shade is ideal to prevent the cleaner from drying too quickly, which can cause streaks. Avoid cleaning windows in direct sunlight.
2. Can I use regular household items to make a DIY glass cleaner?
Yes, you can make an effective homemade glass cleaner using 2 cups of water, 1/2 cup of white or cider vinegar, 1/4 cup of rubbing alcohol (70% concentration), and 2 drops of grease-cutting dish liquid. Optionally, add 1-2 drops of orange essential oil for a pleasant scent.
3. Why should I clean window frames and sills before the glass?
Removing dust and dirt from the frames and sills first prevents the cleaner from mixing with debris, which can create a messy residue that’s harder to clean. This step ensures a cleaner and streak-free glass surface.
4. What tools are recommended for achieving streak-free windows?
Using microfiber cloths or high-quality lint-free paper towels, like Bounty Regular, is recommended for wiping windows. Microfiber cloths are particularly effective as they trap dirt and ensure a streak-free finish.
5. How often should I clean my windows to keep them streak-free?
Regular cleaning is essential for maintaining clear, streak-free windows. It’s advisable to clean windows at least twice a year, but more frequent cleaning may be necessary depending on your environment and weather conditions.


